在之前我的个站(包括本博客)一直在使用StartSSL的免费SSL证书,不过,最近StartSSL和其收购者WoSign频频曝出丑闻,甚至到了Mozilla不信任的地步,也有朋友在留言板告诉了我这些事情,于是我决定把自己的网站SSL证书更换为Let’s Encrypt的。
为什么停止使用StartSSL和WoSign证书
关于StartSSL和WoSign(均为奇虎360子公司),的丑闻,可以在知乎的问题中了解:如何看待中国沃通wosign偷偷收购自己的根CA StartCom并且签发github.com的证书?
总结有三点:
- 2015 年 4 月 23 日左右,沃通 CA 允许免费证书申请者选择任意端口验证,违反了限制端口和路径使用的规定;
- 2015 年 6 月,免费证书申请者发现如果他们能证明控制了子域名那么就能获得基础域名( Base Domain )的证书,如证明控制了 theiraccount.github.com/theiraccount.github.io 等子域名得到了 www.github.io 的证书;
- 2016 年 7 月,与沃通 CA 有关联的 StartCom CA 被发现允许证书倒填日期,倒填日期能绕过浏览器对 SHA-1 算法的限制。
可见,为了安全和后续可能遇到的浏览器不信任问题,建议更换掉自己正在使用的StartSSL或者WoSign SSL。
更换为Let’s Encrypt
Let’s Encrypt最近非常流行,其实最初申请SSL的时候我本来是打算用它的,但是看到只有90天的有效期,而且在当时如果使用国内的DNS服务的话还会签发失败,而碰巧我就在使用CloudXNS,所以没能用上它。
现在官方推出了自动化签发工具certbot,不论是签发还是续约都十分简单,几个命令就能搞定。这里以CentOS和Nginx为例。
首先,安装EPEL源(如果没有安装的话),并安装Certbot
1
2
| sudo yum install epel-release //如果没有安装EPEL源
sudo yum install certbot
|
接着,修改Nginx的配置文件,因为Certbot使用webroot配置模式,在验证服务器域名的时候,会生成一个随机文件,然后CertBot的服务器会通过HTTP访问你的这个文件,因此要确保你的Nginx配置好,以便可以访问到这个文件。
在你的对应网站对应的nginx conf文件中,在 server 模块中添加:
1
2
3
4
5
6
7
8
| location ^~ /.well-known/acme-challenge/ {
default_type "text/plain";
root /usr/share/nginx/html;
}
location = /.well-known/acme-challenge/ {
return 404;
}
|
记得修改后重启nginx(如service nginx restart)
然后就可以使用certbot签发SSL证书了。
1
2
3
4
5
| //-w 后面为网站目录,-d 后面为该目录下对应的域名(可以是多个)
sudo certbot certonly --email [email protected] --agree-tos --webroot -w /home/wwwroot/example.com -d example.com -d www.example.com
//同理可以一次生成多个不同目录下多个域名的证书(一次生成多个域名的多个证书,不过输出是只有一套文件)
./certbot-auto certonly --email [email protected] --agree-tos --webroot -w /home/wwwroot/aaa.com -d aaa.com -d www.aaa.com -w /home/wwwroot/bbb.com -d bbb.com -d sub.bbb.com
|
如果提示:
 1
 2
 3
 4
 5
 6
 7
 8
 9
10
11
| IMPORTANT NOTES:
- Congratulations! Your certificate and chain have been saved at
/etc/letsencrypt/live/example.cpm/fullchain.pem. Your cert will
expire on 2016-12-29. To obtain a new or tweaked version of this
certificate in the future, simply run certbot-auto again. To
non-interactively renew *all* of your certificates, run
"certbot-auto renew"
- If you like Certbot, please consider supporting our work by:
Donating to ISRG / Let's Encrypt: https://letsencrypt.org/donate
Donating to EFF: https://eff.org/donate-le
|
说明申请成功,证书位置在 /etc/letsencrypt/live/ 内。
再次修改对应的nginx配置文件,新建(或者修改)443端口的配置,并修改后重启nginx:
1
2
3
4
5
6
7
8
9
| server {
listen 443 ssl;
listen [::]:443 ssl ipv6only=on;
ssl_certificate /etc/letsencrypt/live/your.domain.com/fullchain.pem;
ssl_certificate_key /etc/letsencrypt/live/your.domain.com/privkey.pem;
ssl_trusted_certificate /etc/letsencrypt/live/your.domain.com/chain.pem;
// ... other settings ...
}
|
最后,使用crontab达成自动续约SSL的功能。
1
2
3
4
| sudo crontab -e
//进入VIM,键入i,然后输入下面的命令
30 2 * * 1 /usr/bin/certbot renew >> /var/log/le-renew.log
//输入:wq退出并保存</pre>
|
上面的执行时间为:每周一半夜2点30分执行renew任务。最后,执行/usr/bin/certbot renew >> /var/log/le-renew.log看看是否执行正常,如果正常,那么就大功告成。
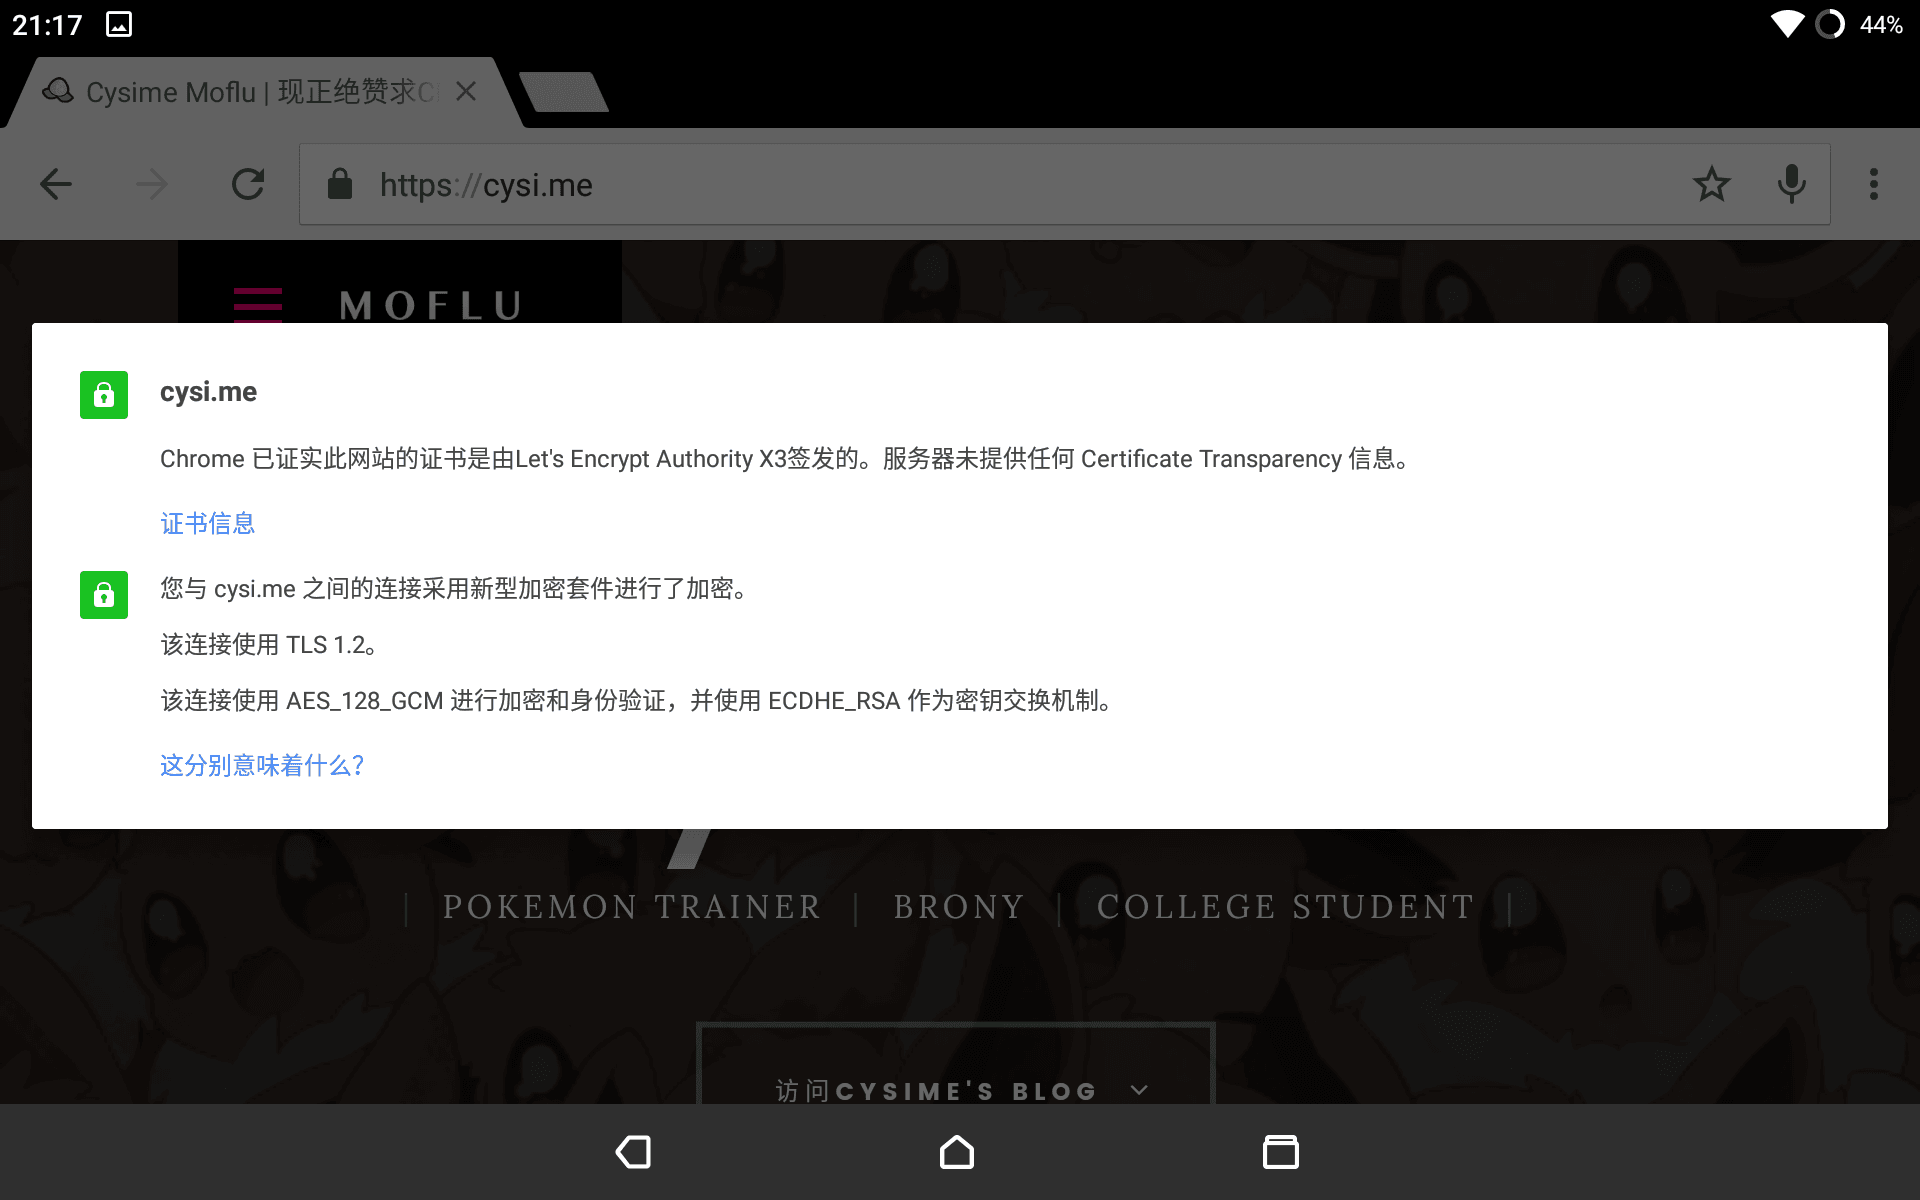
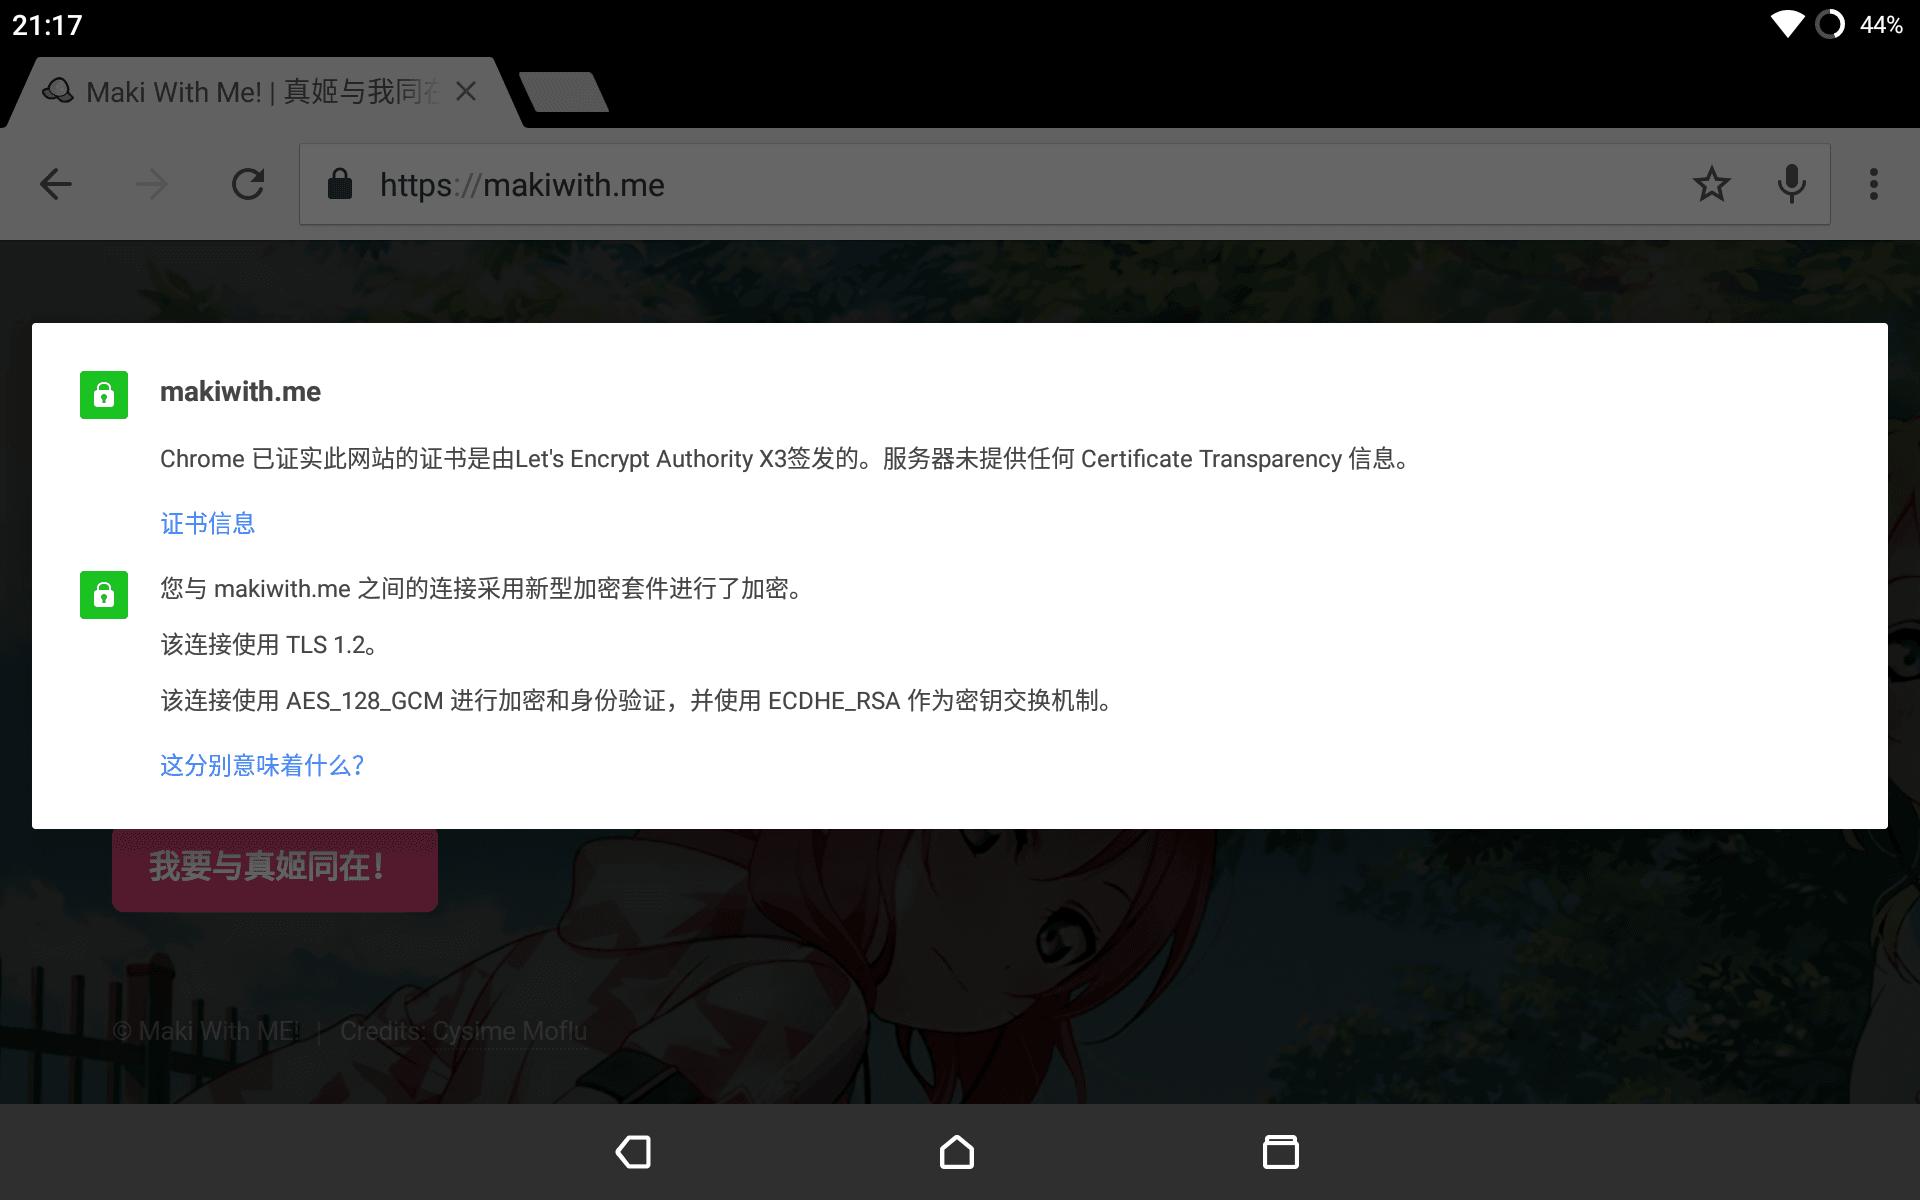
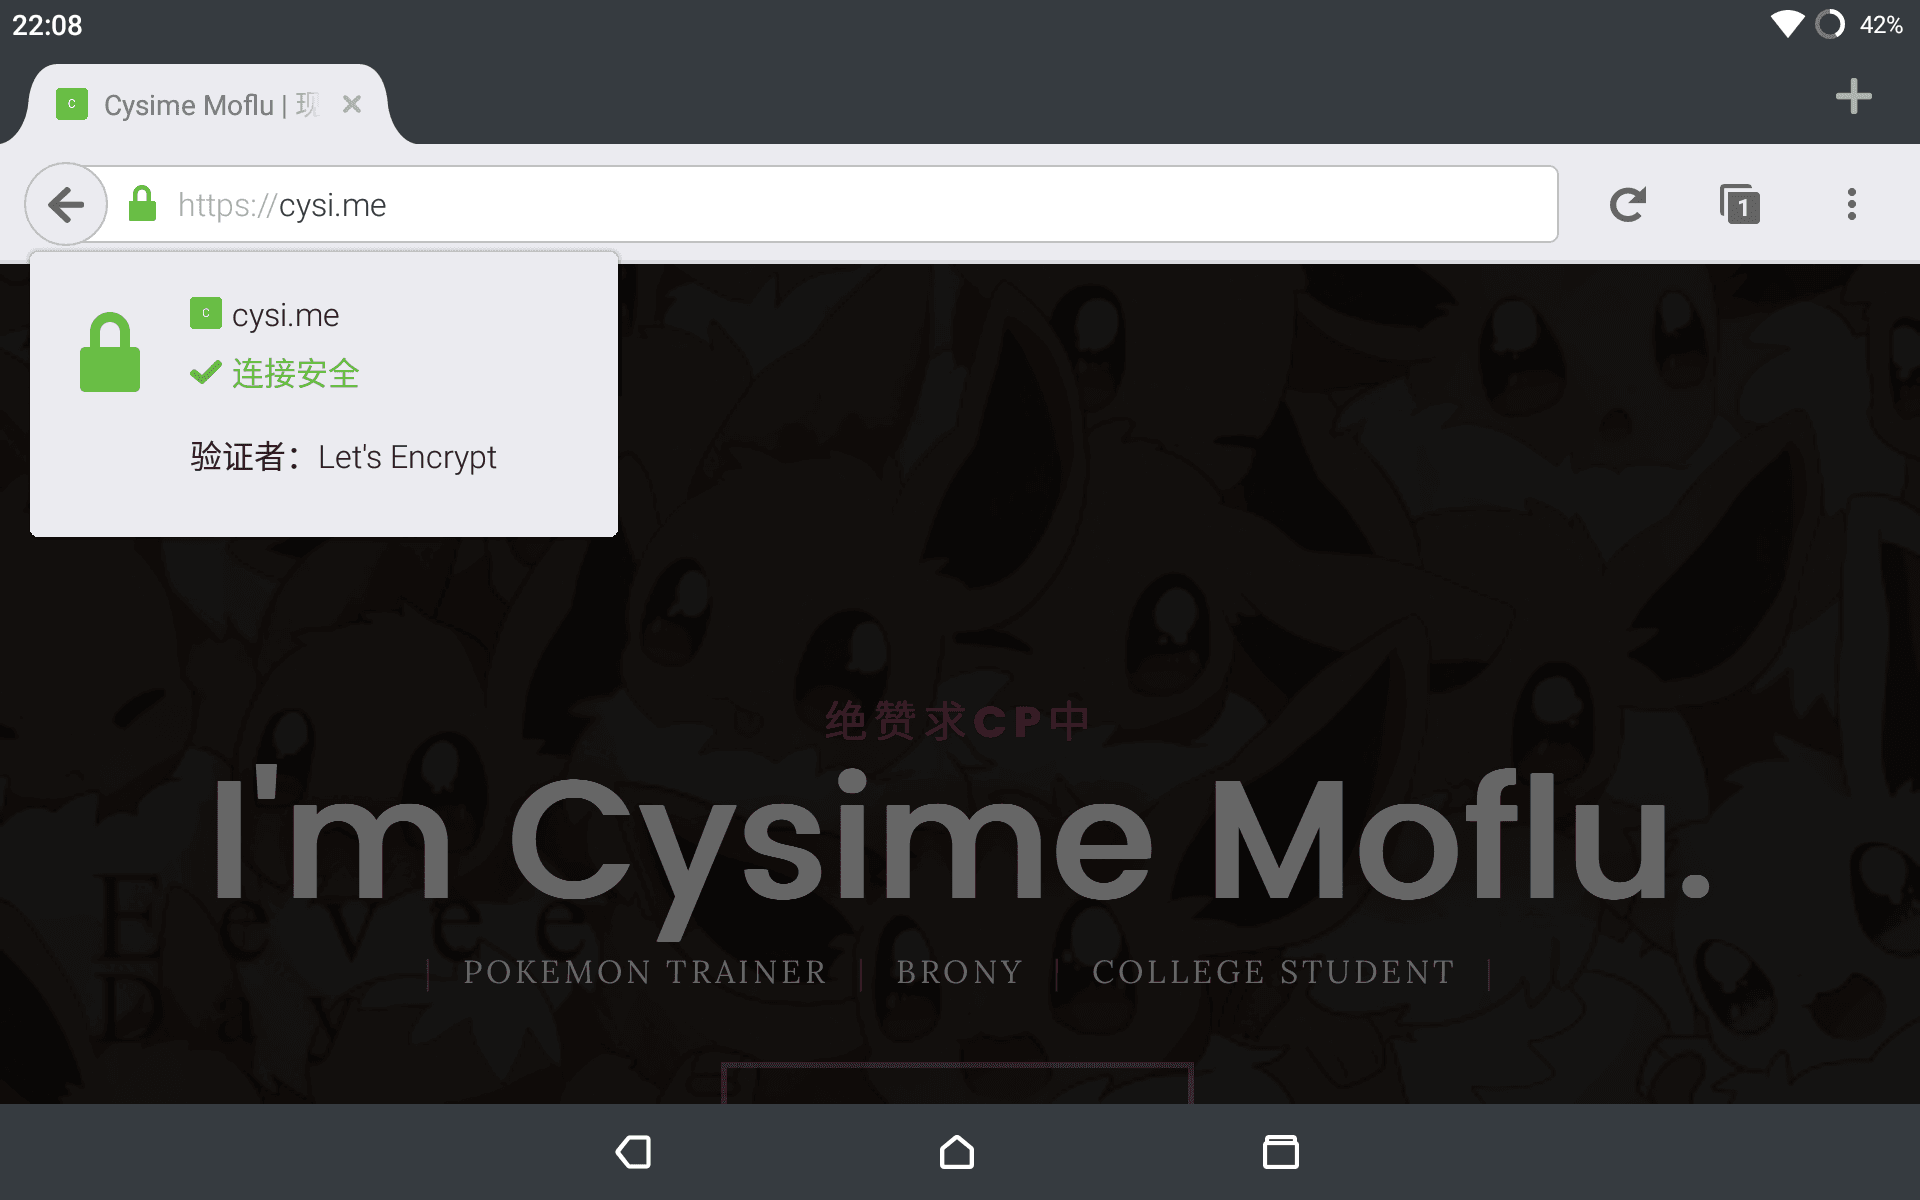
现在我的个人站点Cysi.me和Makiwith.me均采用Let’s Encrypt,建设中的Glacoen.cc则采用Comodo SSL。
附上成功后的截图: